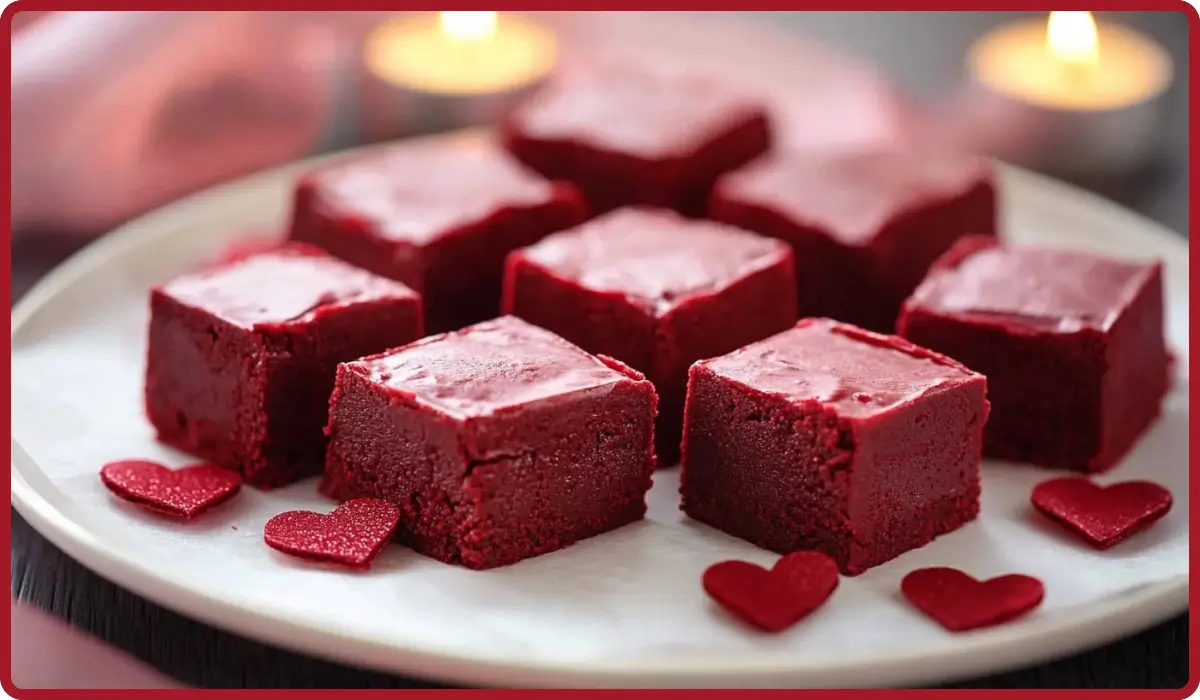
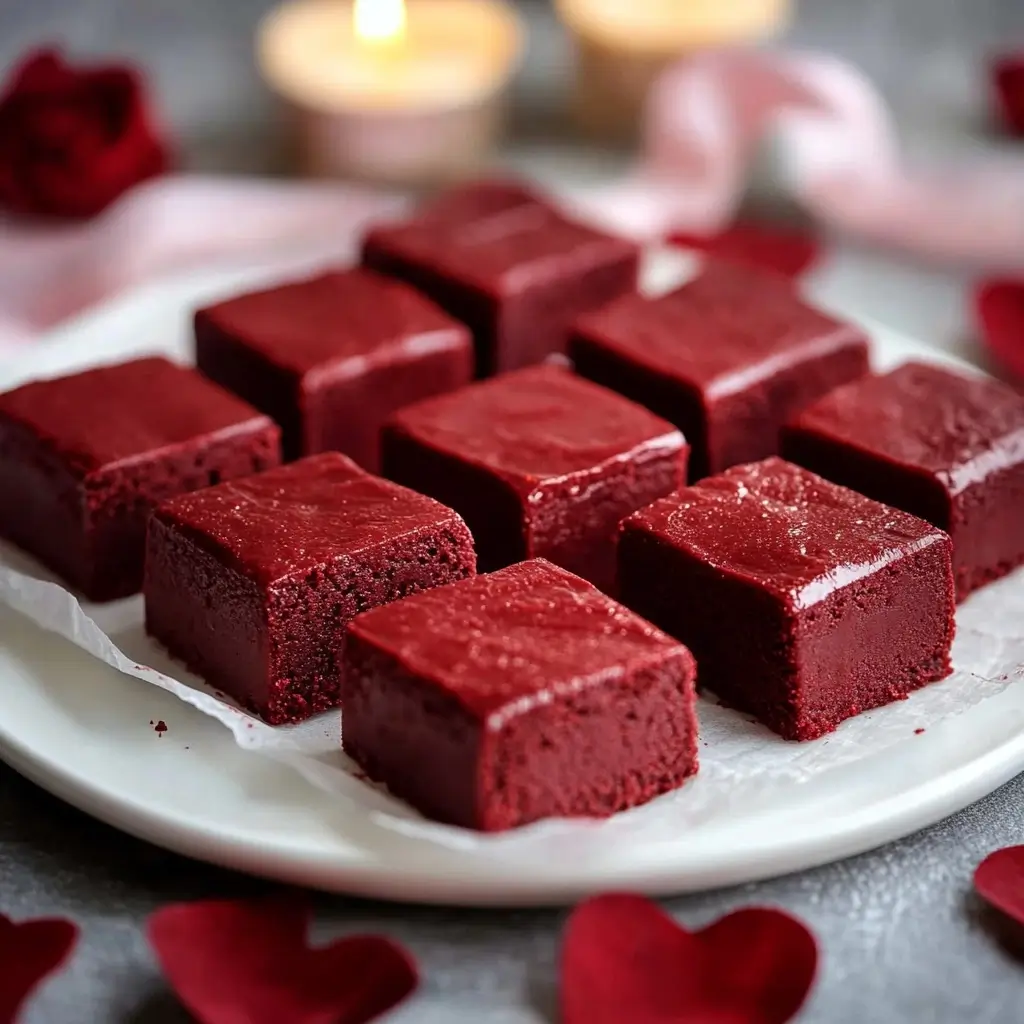
Valentine’s Day is the perfect excuse to indulge in sweet, decadent treats that feel like a warm, sugary hug. And if there’s one dessert that screams romance and indulgence, it’s this rich, creamy red velvet fudge. Imagine a bite-sized piece of velvety goodness, with a subtle chocolate undertone and that iconic red hue—it’s practically a love letter in dessert form!
I first made this red velvet fudge for a holiday party, and let me tell you, it was an instant hit. A friend took one bite and said, “This is so good, it should come with a warning label!” That’s when I knew this recipe was something special. Since then, it’s become my go-to treat for Valentine’s Day, whether I’m gifting it to loved ones or enjoying it at home with my family.
Making this fudge is a labor of love, but don’t worry—it’s totally doable, even if you’re not a seasoned candy maker. The end result is so impressive that it’s worth every step. So, grab your saucepan, a little patience, and let’s whip up a batch of this irresistible red velvet fudge that will have everyone swooning.
Why You’ll Love This Red Velvet Fudge
There are countless reasons to fall head over heels for this recipe. Let me count the ways:
It’s visually stunning. That deep red color is perfect for Valentine’s Day, making it a showstopper for your dessert table or gift boxes.
The flavor is divine. The combination of creamy buttermilk, a hint of cocoa, and a touch of vanilla creates a flavor that’s rich yet not overly sweet.
It’s the perfect homemade gift. Pack these little squares in a cute tin or wrap them in cellophane with a ribbon, and you’ve got an adorable, heartfelt gift that says “I care.”
It’s surprisingly easy to make. While candy-making can seem intimidating, this recipe is beginner-friendly as long as you follow the steps carefully.
Every bite melts in your mouth. The texture of this fudge is smooth, creamy, and absolutely luxurious.
Now that you’re convinced (you are, right?), let’s dive into the details and make this Valentine’s Day extra special.
What You’ll Need to Make Red Velvet Fudge
Before you get started, make sure you’ve got everything you need. This isn’t one of those recipes with a long, complicated ingredient list—just a few pantry staples and a splash of love.
Ingredients
For the Fudge Base
- 2 cups (400g) white granulated sugar: The backbone of the fudge, giving it structure and sweetness.
- ¼ cup (25g) unsweetened cocoa powder: Adds that subtle chocolate flavor that’s essential to red velvet.
- 1 cup (240ml) buttermilk: Creates a tangy, rich base for the fudge.
- 3 tablespoons (42g) unsalted butter: Adds creaminess and richness.
- 1 teaspoon vanilla extract: Enhances the flavor and gives the fudge a warm, aromatic finish.
- 1 teaspoon red gel food coloring: The star ingredient for that classic red velvet look.
Equipment
- A 5×9-inch loaf pan lined with parchment or wax paper
- A heavy-bottomed saucepan
- A candy thermometer
- An electric mixer or a sturdy whisk
How to Make Red Velvet Fudge
Step 1: Prepare Your Pan
Start by lining a 5×9-inch loaf pan with parchment or wax paper, ensuring that the paper hangs over the sides. This makes it easy to lift the fudge out once it’s set. Trust me, this little prep step will save you a ton of frustration later!
Step 2: Combine the Ingredients
In a heavy-bottomed saucepan, mix together the sugar, cocoa powder, buttermilk, and red gel food coloring. Stir the mixture well to ensure everything is evenly combined.
Step 3: Cook the Fudge Mixture
Place the saucepan over medium heat and bring the mixture to a gentle boil. Stir constantly at this stage to dissolve the sugar completely. Once it starts boiling, stop stirring. This is a crucial step to prevent crystallization, which can make the fudge grainy.
Attach a candy thermometer to the side of your pan and let the mixture cook until it reaches 238°F (114°C), also known as the soft-ball stage. If you’re new to candy-making, this is the point where the syrup dropped into cold water forms a soft, pliable ball.
Step 4: Let It Cool
Once your mixture reaches the desired temperature, remove the saucepan from the heat. Now, patience is key. Let the mixture cool undisturbed until it reaches 110°F (43°C). This cooling phase allows the fudge to thicken slightly and ensures the texture will be just right.
Step 5: Add Butter and Vanilla
When the mixture has cooled to 110°F, add the unsalted butter and vanilla extract. These two ingredients not only add flavor but also make the fudge extra smooth and luscious.
Step 6: Beat the Fudge
Using an electric mixer or a whisk, beat the mixture until it thickens and loses its glossy sheen. This part requires a bit of arm work if you’re doing it by hand, but it’s also oddly satisfying to see the fudge come together.
Step 7: Set the Fudge
Pour the thickened fudge into your prepared pan, spreading it out evenly. Let it sit at room temperature until it’s completely firm. This usually takes 1-2 hours, but the anticipation will make it feel longer!
Step 8: Cut and Serve
Once the fudge is set, lift it out of the pan using the parchment paper overhang. Cut it into small squares and marvel at your masterpiece. Each piece is a tiny square of love.
Tips for Fudge Success
Drain your buttermilk if it’s too watery; excess liquid can affect the fudge’s texture.
Use a candy thermometer for accuracy—guesswork is not your friend in candy-making.
Be patient during the cooling phase; it’s crucial for the fudge to set properly.
If you’re gifting the fudge, package it in small boxes or jars with heart-themed decorations for an extra touch of Valentine’s Day charm.
How to Serve Your Red Velvet Fudge
This fudge is a showstopper on its own, but if you want to elevate your presentation, here are some serving ideas:
- Place the fudge on a dessert platter with fresh strawberries and a drizzle of melted white chocolate.
- Serve alongside a cup of hot cocoa or coffee for a cozy Valentine’s Day dessert.
- Add it to a charcuterie board for a sweet-meets-savory spread.
Variations to Try
Love experimenting in the kitchen? Here are some fun twists on this recipe:
- White Chocolate Swirl: Swirl melted white chocolate into the fudge before it sets for a marbled effect.
- Gluten-Free Option: Ensure your cocoa powder and other ingredients are certified gluten-free.
- Spicy Red Velvet: Add a pinch of cayenne pepper for a surprising kick.
Storing and Gifting
Store your red velvet fudge in an airtight container at room temperature for up to a week. If you’re making it ahead of time, you can freeze it for up to three months. Simply thaw at room temperature before serving.
For gifting, wrap each piece in parchment paper and tie it with a little ribbon. Place them in decorative tins or boxes for a Valentine’s Day gift that’s as thoughtful as it is delicious.
A Valentine’s Tradition in the Making
There’s something magical about creating a homemade treat for someone you love. This red velvet fudge has become a Valentine’s Day tradition in my home—a sweet, simple way to show my family and friends how much I care.
Now it’s your turn! Whip up a batch of this red velvet fudge and share it with the people you adore. And if you do, don’t forget to let me know how it turns out! Snap a photo, post it on Instagram, and tag me—I can’t wait to see your creations.
Happy Valentine’s Day, and happy fudge-making!
Print
Red Velvet Fudge: A Valentine’s Day Treat to Fall in Love With
- Total Time: 2 hours 40 minutes
- Yield: 25 squares 1x
- Diet: Vegetarian
Description
This red velvet fudge is a decadent treat perfect for Valentine’s Day! With a smooth, melt-in-your-mouth texture and rich red color, it’s a sweet way to show love.
Ingredients
- 2 cups (400g) white granulated sugar
- ¼ cup (25g) unsweetened cocoa powder
- 1 cup (240ml) buttermilk
- 3 tablespoons (42g) unsalted butter
- 1 teaspoon vanilla extract
- 1 teaspoon red gel food coloring
Instructions
- Line a 5×9-inch loaf pan with parchment paper.
- In a saucepan, mix sugar, cocoa powder, buttermilk, and food coloring.
- Bring to a boil over medium heat, stirring constantly. Stop stirring once boiling.
- Cook until the mixture reaches 238°F (soft-ball stage).
- Let cool undisturbed to 110°F.
- Stir in butter and vanilla extract.
- Beat until thick and glossy.
- Pour into the pan, spread evenly, and let set for 1-2 hours.
- Cut into squares and serve.
Notes
- Use a candy thermometer for accuracy.
- Avoid stirring once the mixture boils to prevent crystallization.
- Store in an airtight container for up to a week.
- Prep Time: 15 minutes
- Cook Time: 25 minutes
- Category: Dessert
- Method: Stove-top
- Cuisine: American

