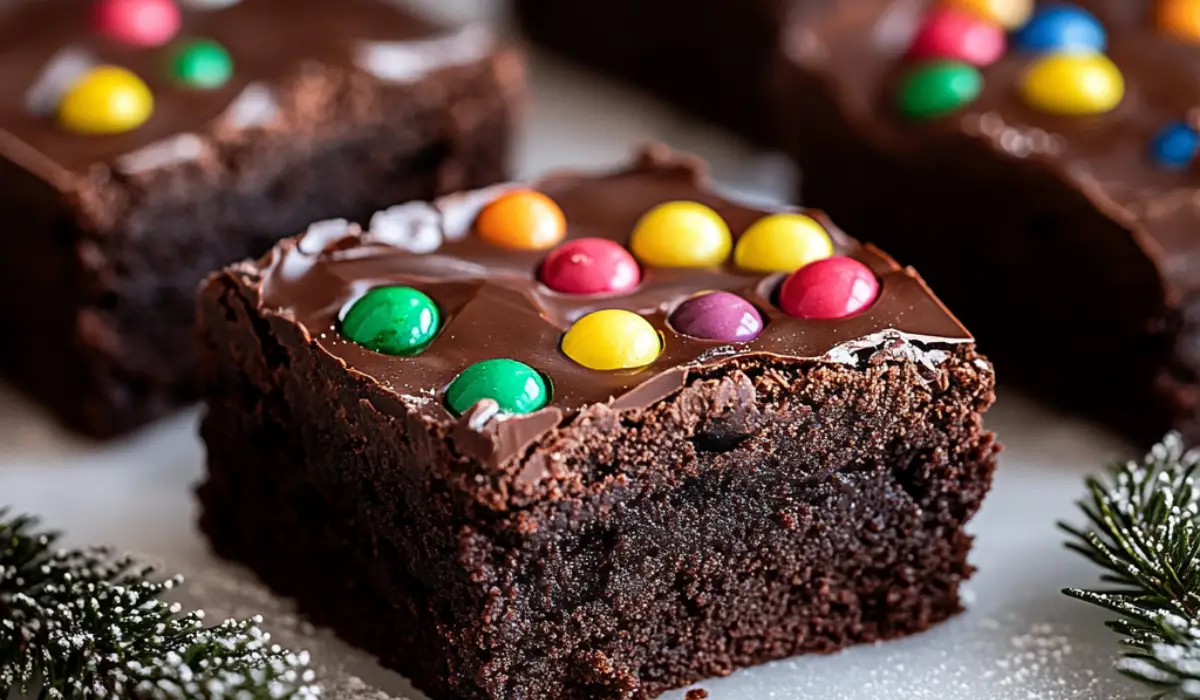
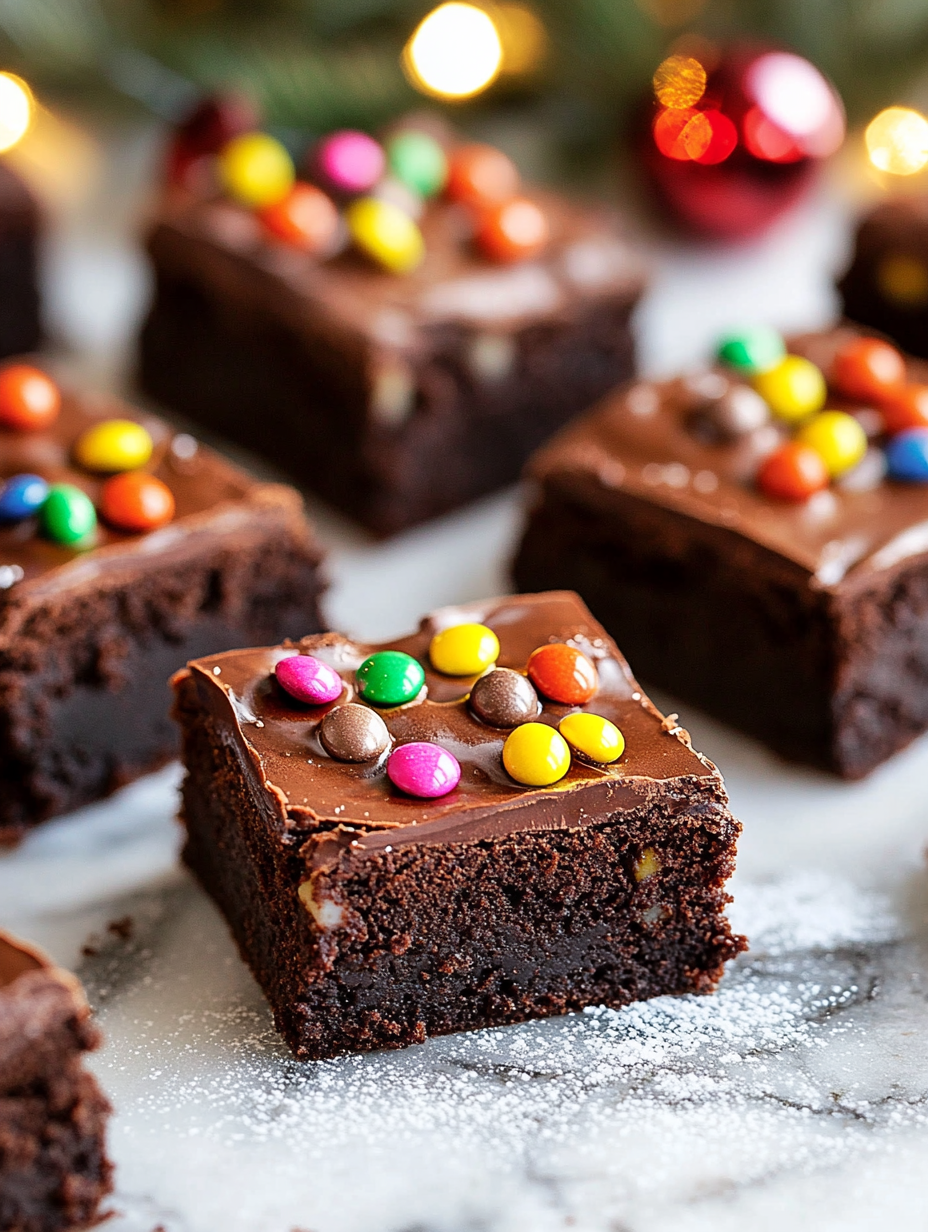
There’s something magical about Homemade Cosmic Brownies, isn’t there? They take us back to childhood lunchboxes, after-school snacks, and those sneaky late-night treats. But let’s face it—homemade Cosmic Brownies are on a whole other level. Rich, fudgy, and slathered with a creamy chocolate frosting, these brownies are topped with colorful candy-coated chocolate chips that make every bite pure joy. Today, we’re diving deep into how to make these nostalgic brownies from scratch. Trust me, they’re easier than you think, and the results? Out-of-this-world delicious.
Making these brownies is the perfect way to channel your inner baker and relive those carefree days. I’ve made these brownies for everything from birthday parties to family movie nights, and they’re always a hit. Plus, there’s something so satisfying about making your own version of a childhood classic—no preservatives, just pure, chocolatey goodness.
So grab your apron and let’s get started! By the end of this recipe, you’ll have a batch of irresistibly fudgy brownies that might just outshine the original.
Why You’ll Love These Homemade Cosmic Brownies
1. Super Fudgy Texture
These brownies are thick, rich, and have a melt-in-your-mouth fudginess that’s simply irresistible. The secret? A touch of cornstarch in the batter, which helps create that perfect dense texture you’ll love.
2. Easy to Make
No fancy equipment, no complicated steps—just minimal prep with simple, everyday ingredients. This recipe is as straightforward as it is delicious.
3. Homemade Nostalgia
Ditch the store-bought version and enjoy a fresh, preservative-free take on a classic childhood treat. There’s something so satisfying about recreating this iconic dessert at home.
4. Versatile Topping Options
While rainbow candy-coated chocolate chips are a nostalgic nod to the original, you can mix it up! Try sprinkles, crushed candies, mini marshmallows, or even chopped nuts for your own personal twist.
5. Make-Ahead Friendly
These brownies taste even better the next day as the flavors settle and the frosting firms up. They store beautifully, making them perfect for parties, school lunchboxes, or anytime chocolate cravings strike.
Preparation Time and Servings
- Total Time: 3 hours (including cooling and frosting setting time)
- Active Prep: 30 minutes
- Baking: 25 minutes
- Cooling and Setting: 2 hours
- Servings: 12 generous squares
- Calories per Serving: ~320 (based on standard ingredients)
Step-by-Step Instructions
1. Prepare the Baking Pan
- Preheat your oven to 350°F (175°C).
- Line an 8-by-8-inch metal baking pan with parchment paper or foil, leaving some overhang for easy removal. Lightly spray the lining with nonstick cooking spray.
Pro Tip: Using parchment paper makes it a breeze to lift the brownies out for cutting later. No sticking, no mess!
2. Make the Brownie Batter
- Melt the Butter: In a large microwave-safe bowl, melt the butter on high for about 90 seconds. Stir it until smooth.
- Mix the Sugars and Cocoa: Stir in the granulated sugar, brown sugar, and sifted cocoa powder until the mixture is well combined. Let it cool slightly if it’s too hot.
- Add Wet Ingredients: Add the vanilla extract, eggs, egg yolk, and corn syrup. Stir until the mixture is glossy and smooth.
- Incorporate Dry Ingredients: Gently fold in the flour, cornstarch, and salt. Mix until just combined—don’t overmix! The batter will be thick and shiny.
Pro Tip: Overmixing can lead to tougher brownies. Stir just until you don’t see streaks of flour.
- Pour and Smooth: Pour the batter into the prepared pan and use a spatula to spread it evenly.
3. Bake the Brownies
- Place the pan in the preheated oven and bake for 25 minutes.
- The edges should look set, but the center might still be slightly underdone. This is what gives the brownies their fudgy texture.
- Remove the brownies from the oven and let them cool completely in the pan.
Pro Tip: Resist the urge to cut them while they’re warm! Cooling ensures they hold their shape when slicing.
4. Prepare the Frosting
- Heat the Cream: Place the heavy cream in a small microwave-safe bowl and heat on high for 1 minute until hot but not boiling.
- Melt the Chocolate Chips: Add the semisweet chocolate chips to the hot cream. Let it sit for 3 minutes to allow the chocolate to melt.
- Stir Until Smooth: Use a spatula or whisk to stir the mixture until smooth and glossy.
5. Frost and Decorate
- Pour the Frosting: Pour the frosting over the cooled brownies and spread it evenly with a spatula.
- Add Toppings: Sprinkle the rainbow candy-coated chocolate chips or your preferred toppings generously over the frosting.
Pro Tip: For even distribution, sprinkle the candy in small handfuls and press gently into the frosting.
- Chill to Set: Refrigerate the brownies for 1 to 2 hours, or until the frosting is firm to the touch.
6. Slice and Serve
- Once the frosting is set, use the parchment overhang to lift the brownies out of the pan.
- Place on a cutting board and use a sharp knife to slice into 12 squares. For cleaner cuts, wipe the knife with a damp cloth between slices.
How to Serve this Homemade Cosmic Brownies
- Classic Presentation: Serve chilled for the ultimate fudgy texture.
- With Ice Cream: Warm a brownie in the microwave for 10 seconds and top with a scoop of vanilla ice cream.
- Party Style: Cut into smaller squares for bite-sized treats perfect for gatherings.
Additional Tips for Success
- Use Good-Quality Cocoa: A high-quality cocoa powder will give your brownies a richer chocolate flavor.
- Don’t Skip the Cornstarch: It’s key to achieving that soft, fudgy consistency.
- Cool Completely Before Frosting: If the brownies are warm, the frosting won’t set properly.
- Store Properly: Keep them in an airtight container to maintain freshness.
- Customize Your Toppings: Have fun with it! Crushed nuts, toffee bits, or coconut flakes can take these brownies in a whole new direction.
Recipe Variations
- Gluten-Free: Swap the all-purpose flour for a gluten-free 1:1 baking mix.
- Dairy-Free: Use vegan butter and coconut cream for the frosting.
- Extra Decadent: Add a layer of caramel between the brownie and frosting.
- Nutty Twist: Stir in 1/2 cup of chopped walnuts or pecans into the brownie batter.
Storing and Freezing
- Room Temperature: Store in an airtight container for up to 3 days.
- Refrigerator: Keep brownies in the fridge for up to 1 week. They’re delicious chilled!
- Freezer: Place brownies on a baking sheet and freeze until solid, then transfer to a freezer-safe container. Freeze for up to 3 months. Thaw overnight in the fridge before serving.
Special Equipment
- Microwave-Safe Bowl: For melting butter and heating cream.
- 8-by-8-Inch Pan: The ideal size for perfectly thick brownies.
- Parchment Paper: Essential for easy removal and clean slicing.
Frequently Asked Questions
1. Can I use salted butter?
Yes, but reduce the added salt in the recipe to 1/8 teaspoon.
2. What’s the purpose of corn syrup?
It adds moisture and helps give the brownies a shiny top.
3. Can I make this recipe without a microwave?
Absolutely! Melt the butter and heat the cream on the stovetop over low heat.
Conclusion
Homemade Cosmic Brownies are more than just a dessert—they’re a nostalgic trip back to childhood, reimagined in the best way possible. Once you’ve made these homemade treats, you’ll never go back to the store-bought version. The fudgy brownie base, creamy chocolate frosting, and colorful candy topping are a match made in dessert heaven.
Ready to bake your own Cosmic Brownies? Snap a photo of your creation and tag me—I’d love to see your colorful, chocolatey masterpieces! 🍫✨
Print
Homemade Cosmic Brownies: Fudgy, Rich, and Perfectly Nostalgic
- Total Time: 3 hours (includes cooling and chilling)
- Yield: 12 squares 1x
- Diet: Vegetarian
Description
Rich, fudgy brownies topped with creamy chocolate frosting and colorful candy-coated chocolate chips. A nostalgic dessert that’s easy to make and perfect for any occasion.
Ingredients
- For the Brownies:
- 10 tbsp unsalted butter
- 1 cup granulated sugar
- 1/3 cup packed light brown sugar
- 3/4 cup + 2 tbsp unsweetened cocoa powder, sifted
- 1/2 tsp vanilla extract
- 2 large eggs + 1 egg yolk
- 1 tbsp corn syrup
- 2/3 cup all-purpose flour
- 1 tbsp cornstarch
- 1/4 tsp salt
- For the Frosting:
- 1/2 cup heavy cream
- 1 1/2 cups semisweet chocolate chips
- Rainbow candy-coated chocolate chips or sprinkles
Instructions
- Preheat oven to 350°F. Line an 8×8-inch pan with parchment and spray with cooking spray.
- Melt butter in a microwave-safe bowl. Stir in sugars and cocoa. Let cool slightly.
- Add vanilla, eggs, and corn syrup. Mix until smooth.
- Stir in flour, cornstarch, and salt until just combined.
- Pour batter into the pan and bake for 25 minutes. Cool completely.
- Heat cream in a microwave, pour over chocolate chips, and let sit for 3 minutes. Stir until smooth.
- Spread frosting over cooled brownies and top with candy. Refrigerate for 1–2 hours until set.
- Slice and serve.
Notes
- Let the brownies cool completely before frosting to avoid melting.
- Store in an airtight container for up to 3 days at room temperature or 1 week in the fridge.
- Prep Time: 30 minutes
- Cook Time: 25 minutes
- Category: Dessert
- Method: Baking
- Cuisine: American