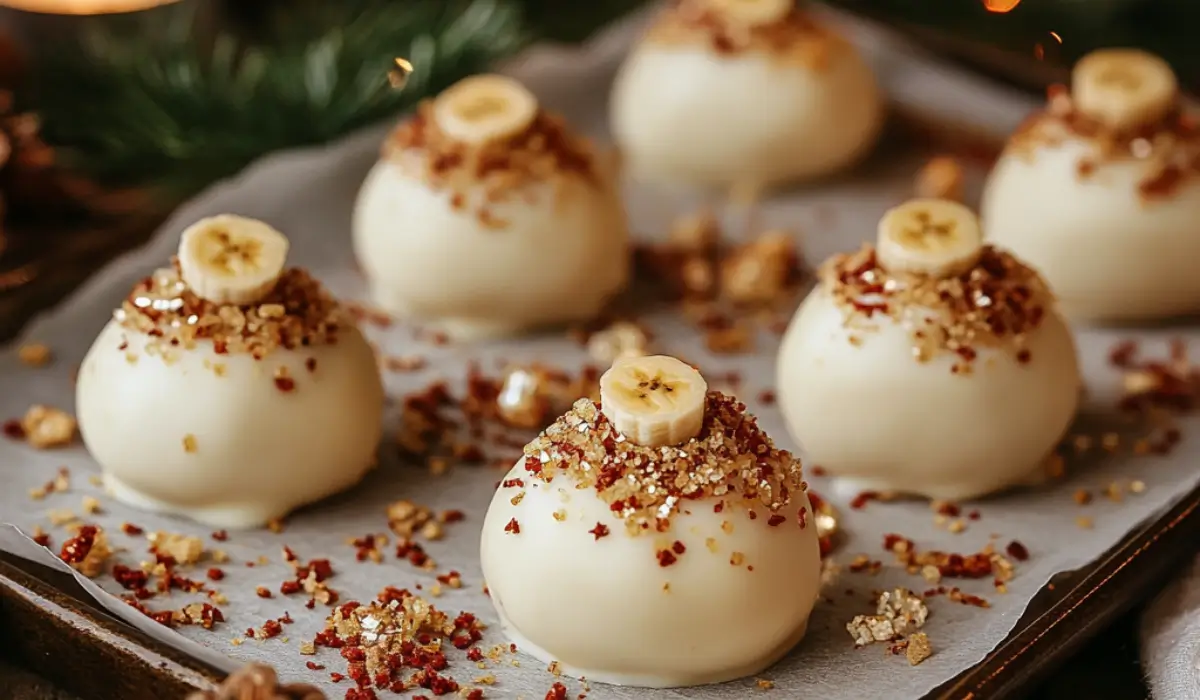
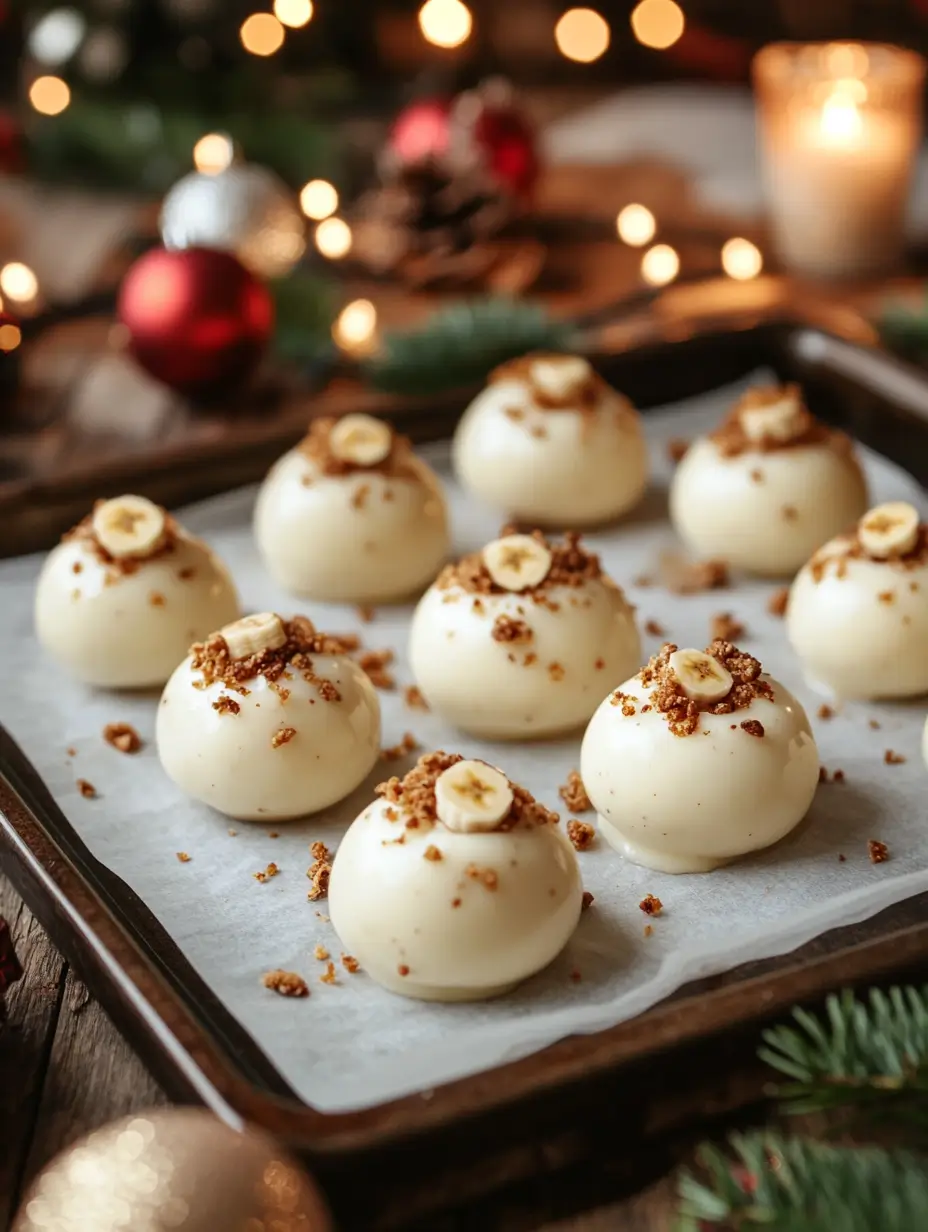
There’s something utterly magical about banana pudding—it’s nostalgic, comforting, and hits all the right notes of creamy, fruity sweetness. Now, imagine all of that goodness condensed into a bite-sized truffle, wrapped in a silky shell of white chocolate. That’s exactly what Banana Pudding Truffles deliver!
These little treats are perfect for when you’re craving something sweet but don’t want to spend hours in the kitchen. They’re easy to make, require no baking, and are guaranteed to impress at any gathering. Whether you’re hosting a party, looking for a unique dessert to bring to a potluck, or just treating yourself, these truffles are the answer.
A Little Backstory
I’ll never forget the first time I made banana pudding from scratch—it was a family reunion, and I wanted to impress my relatives with something special. While the pudding was a hit, the leftovers the next day inspired this truffle recipe. I had some crushed vanilla wafers and a few ripe bananas left over and thought, “Why not turn these into a fun, portable dessert?”
The result? A creamy, banana-flavored center wrapped in white chocolate, with just the right amount of crunch from a banana chip garnish. Now, these truffles have become a family favorite. They’re a hit with kids and adults alike, and they’re so simple to whip up that they’ve become my go-to for last-minute desserts.
Why You’ll Love This Recipe
Banana Pudding Truffles aren’t just another dessert; they’re an experience. Here’s why you’ll fall head over heels for them:
- Quick and Easy: Minimal effort, maximum reward! These truffles come together with just a few simple ingredients and require no baking.
- Rich and Creamy: The cream cheese and ripe bananas create a luscious, velvety texture that melts in your mouth.
- Portable Perfection: These bite-sized treats are perfect for parties, picnics, or just a sweet snack on the go.
- Crowd-Pleaser: Who doesn’t love banana pudding? These truffles take all the flavors you adore and make them even more fun and indulgent.
- Customizable: You can play around with toppings, chocolate coatings, or even add a little crunch inside.
Preparation Time and Servings
- Prep Time: 30 minutes
- Freeze Time: 15 minutes
- Total Time: 45 minutes
- Servings: Approximately 20 truffles
Nutrition (Per Truffle):
Calories: 110 | Protein: 1g | Carbs: 14g | Fat: 6g
Ingredients
Here’s everything you’ll need to make these irresistible truffles:
- 11 ounces vanilla wafers: These form the base of the truffles, adding that classic banana pudding crunch.
- 8 ounces cream cheese, softened: This gives the truffles their creamy, tangy texture.
- 2 ripe bananas, mashed: Ripe bananas are key for the perfect flavor. They should be soft, fragrant, and speckled with brown spots.
- 20 banana chips: These are used for decoration, adding a delightful crunch on top.
- 8 ounces white chocolate: The sweet and smooth coating for the truffles.
Step-by-Step Instructions
Making Banana Pudding Truffles is as easy as 1-2-3! Follow these steps for perfect results every time:
1: Prepare the Vanilla Wafer Crumbs
- Place the vanilla wafers in a food processor.
- Pulse until you achieve fine crumbs. You’re aiming for a sandy texture without any large chunks.
Tip: If you don’t have a food processor, place the wafers in a resealable bag and crush them with a rolling pin.
2: Combine the Ingredients
- Add the softened cream cheese and mashed bananas to the food processor with the crumbs.
- Pulse until the mixture forms a thick, sticky dough. It should hold its shape when pressed.
Pro Tip: If your mixture seems too soft, chill it in the fridge for 10 minutes before rolling into balls.
3: Form the Truffles
- Using a small cookie scoop or spoon, scoop out portions of the dough and roll them into balls about 1.5 inches in diameter.
- Place the balls on a parchment-lined baking sheet.
4: Freeze the Truffles
- Freeze the rolled truffles for 15 minutes. This step is crucial—it ensures the truffles hold their shape when dipped in chocolate.
5: Melt the White Chocolate
- While the truffles are in the freezer, melt the white chocolate.
- Use a double boiler for the best results. If you don’t have one, microwave the chocolate in 20-second intervals, stirring in between to avoid burning.
Tip: Add a teaspoon of coconut oil or shortening to the chocolate for a smoother coating.
6: Dip the Truffles
- Remove the truffles from the freezer.
- Using a fork or dipping tool, dip each truffle into the melted chocolate, ensuring it’s fully coated.
- Place the dipped truffles back onto the parchment paper.
7: Add the Banana Chip Garnish
- Before the chocolate sets, press a banana chip onto the top of each truffle.
8: Chill and Serve
- Place the truffles in the fridge until the chocolate hardens.
- Once set, they’re ready to enjoy!
How to Serve
There are so many fun ways to serve these truffles! Here are a few ideas:
- Arrange them on a dessert platter with fresh fruit and cookies for a party spread.
- Serve them in mini cupcake liners for a polished look.
- Add them to a tray of assorted truffles and chocolates for a sweet sampler.
Additional Tips for Success
- Use Softened Cream Cheese: Make sure your cream cheese is fully softened for easy mixing.
- Choose Ripe Bananas: The riper the bananas, the sweeter and more flavorful your truffles will be.
- Work Quickly with Chocolate: Melted chocolate can harden fast, so dip the truffles and add the banana chip garnish quickly.
- Chill Between Steps: Keeping the mixture and truffles cold ensures they hold their shape.
- Store Properly: Always store the truffles in an airtight container in the fridge to maintain their freshness.
Recipe Variations
These Banana Pudding Truffles are already delicious, but here are some ways to make them your own:
- Dark Chocolate Coating: Swap white chocolate for dark chocolate if you prefer a less sweet option.
- Nutty Crunch: Roll the truffles in crushed nuts after dipping in chocolate for an extra crunch.
- Tropical Twist: Add shredded coconut to the truffle mixture or use it as a garnish.
- Cinnamon Spice: Mix a pinch of cinnamon into the truffle dough for a warm, spiced flavor.
- Mini Chocolate Chips: Stir mini chocolate chips into the dough for a fun texture and chocolatey surprise.
Storage and Freezing
One of the best things about Banana Pudding Truffles is that they store beautifully!
- Refrigerator: Store in an airtight container for up to 5 days.
- Freezer: Place the truffles on a baking sheet and freeze until solid. Transfer them to a freezer-safe bag or container and store for up to 2 months.
Tip for Reheating: Allow frozen truffles to thaw in the fridge for a few hours before serving.
FAQ
Can I use a different type of cookie?
Yes! Graham crackers or shortbread cookies would also work well.
What if I don’t have a food processor?
You can crush the vanilla wafers manually and mix the ingredients in a bowl.
Can I make these ahead of time?
Absolutely! These truffles can be made a day in advance and stored in the fridge until ready to serve.
What’s the best way to melt white chocolate?
A double boiler is the safest option, but the microwave works if you’re careful to stir frequently.
Can I skip the banana chip garnish?
Of course! You can use sprinkles, crushed nuts, or a drizzle of melted chocolate instead.
Conclusion
These Banana Pudding Truffles are a sweet little slice of happiness in every bite. They’re simple, quick, and a surefire way to impress your family and friends. Plus, they bring all the cozy nostalgia of banana pudding in a fun, modern format.
So what are you waiting for? Grab your ingredients, get rolling, and treat yourself to these delightful truffles. And when you do, don’t forget to snap a pic and tag me on social media—I’d love to see your creations!
Enjoy every bite! 🍌✨
Print
Banana Pudding Truffles: A Sweet Bite of Heaven
- Total Time: 45 minutes
- Yield: 20 truffles 1x
- Diet: Vegetarian
Description
A no-bake dessert that combines the creamy goodness of banana pudding with a white chocolate coating, topped with a crunchy banana chip.
Ingredients
- 11 ounces vanilla wafers
- 8 ounces cream cheese, softened
- 2 ripe bananas, mashed
- 20 banana chips
- 8 ounces white chocolate
Instructions
- Crush vanilla wafers into fine crumbs.
- Mix with cream cheese and mashed bananas until a stiff batter forms.
- Roll into 1.5-inch balls and freeze for 15 minutes.
- Melt white chocolate in a double boiler.
- Dip frozen balls in chocolate and garnish with a banana chip.
- Refrigerate until set. Serve chilled!
Notes
- Use ripe bananas for the best flavor.
- Store in the fridge for up to 5 days.
- Freeze for longer storage and thaw before serving.
- Prep Time: 30 minutes
- Cook Time: 0 minutes
- Category: Dessert
- Method: No-Bake
- Cuisine: American

